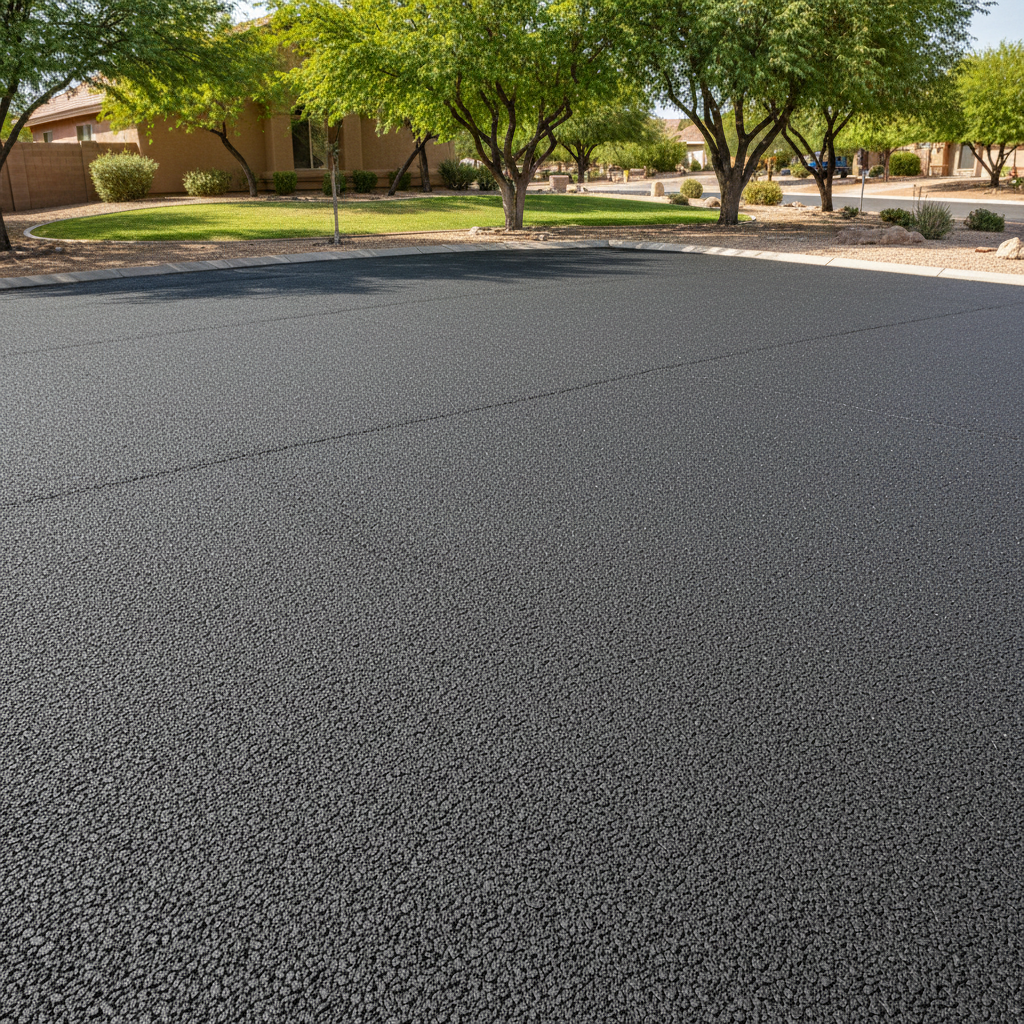
Got a dirt patch or a beat-up concrete slab where you park your cars? Maybe you're finally ready to get a proper paved parking area at your Mesa home. It's a smart move, adds value, and frankly, it just looks better. But before you grab a shovel or dial a number, let's talk about what's really involved. I've seen a lot of these projects over the years, and I can tell you, there's a right way and a wrong way to go about it.
Before You Start: Planning and Permits
First things first: planning. Don't just eyeball it. Get out there with a tape measure and figure out the exact dimensions you need. Think about how many vehicles you park, if you've got an RV, or if you want extra space for guests. This isn't just about the asphalt; it's about the whole area. Consider drainage too. We get some serious monsoon downpours here in Mesa, and you don't want water pooling up against your house or running into your neighbor's yard. A slight slope, even just 1-2%, is usually enough to direct water away.
Next, permits. This is where a lot of homeowners get tripped up. Depending on the size and scope of your project, you might need a permit from the City of Mesa. Don't skip this step. It's not worth the headache of fines or having to tear out work later. A good contractor, like us at Mesa Diamond Asphalt, will handle all the permit stuff for you, but if you're going the DIY route, you're responsible. Check with the city's planning and zoning department. They'll tell you what's required for your specific property.
The Groundwork: When to DIY, When to Call a Pro
Okay, let's talk about the actual work. The most critical part of any paving job isn't the asphalt itself; it's what's underneath. The subgrade and base are everything. Here in Mesa, we often deal with caliche soil, which can be tricky. It needs proper preparation to ensure a stable foundation. If you don't get this right, you'll end up with cracks, potholes, and an early failure of your new parking area, no matter how good the asphalt is.
- Clearing and Excavation: If it's a small area and you're just removing some loose dirt or gravel, you might be able to handle this with a shovel and a wheelbarrow. For anything larger, or if you're dealing with old concrete or significant grading, you're going to want to rent some heavy equipment or hire someone with the right tools. Digging out caliche by hand is a nightmare, trust me.
- Subgrade Preparation: This involves compacting the existing soil. You can rent a plate compactor for smaller areas. Make sure it's firm and level. If your soil isn't stable, you might need to add a layer of aggregate and compact that too. This is where professional experience really pays off. We know how to assess soil conditions and ensure proper compaction.
- Base Layer: This is usually a layer of crushed aggregate, typically 4-6 inches thick for a residential parking area. You'll need to spread it evenly and then compact it thoroughly. Again, a plate compactor is essential. Getting this perfectly graded and compacted is crucial for drainage and longevity.
Honestly, unless you're incredibly handy, have access to heavy equipment, and understand soil mechanics, preparing the subgrade and base is usually best left to the pros. It's the foundation, and if it's not done right, the whole project is compromised.
Laying the Asphalt: This is a Pro Job, Period
Now, for the asphalt itself. I'm going to be blunt: laying asphalt is not a DIY job for a homeowner. Not if you want it to last and look good. It requires specialized equipment – asphalt pavers, rollers, and trucks to transport the hot mix. The asphalt has to be laid at a specific temperature, compacted quickly and evenly, and tapered correctly at the edges. One mistake, and you'll have an uneven, poorly compacted surface that will break down fast.
You can't just buy bags of cold patch and expect to pave a whole parking area. That stuff is for small repairs, not for new construction. Save yourself the headache, the wasted money, and the inevitable disappointment. When it comes to laying the actual asphalt, call a reputable paving company. We've got the crew, the equipment, and the experience to do it right the first time.
After the Paving: Maintenance You Can Do
Once your new parking area is down, you'll want to protect your investment. This is where you, the homeowner, can definitely get involved.
- Curing Time: Give it time to cure. We'll tell you how long, but generally, stay off it for a few days, and don't park heavy vehicles on it for a week or two.
- Cleaning: Keep it clean. Sweep off dirt, leaves, and debris regularly. Oil and gas spills should be cleaned up immediately, as they can break down the asphalt binder. A little dish soap and water usually do the trick.
- Sealcoating: This is a big one. Sealcoating protects your asphalt from the harsh Arizona sun, oxidation, and water penetration. You can try to do this yourself for smaller areas, but it's a messy job, and getting an even application can be tough. For a professional finish that lasts, consider having us or another reputable company handle your sealcoating every 2-3 years. It's a small price to pay to extend the life of your parking area by many years.
- Crack Repair: Small cracks will happen over time. You can buy asphalt crack filler at home improvement stores and fill these yourself. Just make sure the crack is clean and dry before you apply the filler. Catching them early prevents them from becoming bigger problems.
So, there you have it. A new paved parking area is a fantastic addition to any Mesa home. Just be realistic about what you can tackle yourself and when it's time to bring in the pros. For the heavy lifting and the actual paving, you're always better off with a company that knows what they're doing. Give us a call at Mesa Diamond Asphalt if you're ready to get a quote or just have questions about your project.